
AI Agents & Sessions
Install and Connect an AI Agent
By TermSquad · Last reviewed
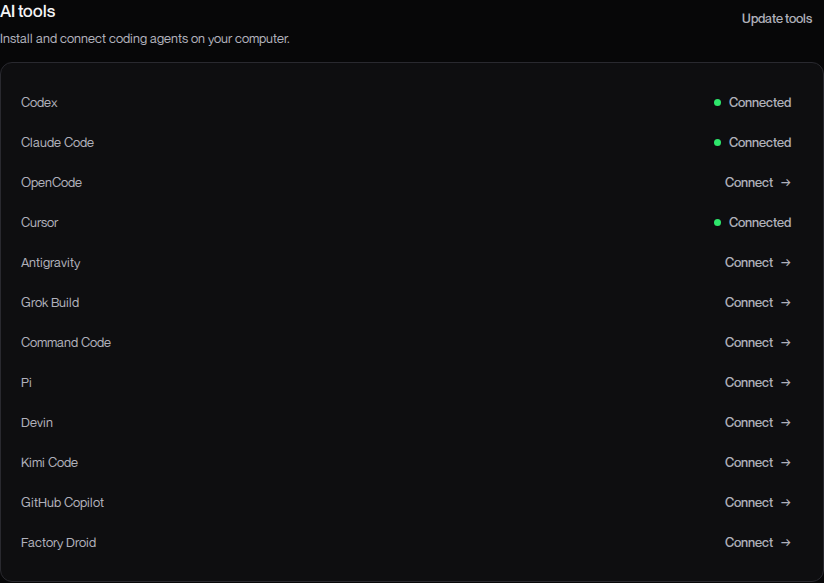
Use Connect in Settings → AI tools to set up an agent. TermSquad installs the tool if needed and opens its provider sign-in flow; installation and authentication are separate steps.
Connect an agent
- Select a running computer.
- Open Settings → AI tools.
- Find the agent and choose Connect.
- If Installing… appears, wait for installation to finish.
- Follow the login instructions in the terminal.
- Open the provider’s sign-in page and authorize the account you intend to use.
- Return to TermSquad and wait for the login flow to finish.
- Check the tool’s connection state, then run a small task in your project.
If the sign-in tab is blocked, use Open sign-in in the terminal toolbar. Some providers require entering a device code or pasting a one-time authorization value into the login terminal.
Keep the login flow open
Complete one provider login at a time on each computer. Navigating away from the login terminal can close that short-lived flow. If it ends before authentication completes, return to Settings and start Connect again.
An ordinary working terminal session has different persistence behavior from a provider login session.
If setup does not complete
An installation failure may offer Retry. If the tool is installed but not authenticated, reconnect rather than repeatedly reinstalling it.
Check provider access and any organization restrictions. TermSquad computer payment does not purchase an AI subscription.
See the individual setup article in AI Agents & Sessions, or use agent setup troubleshooting.